
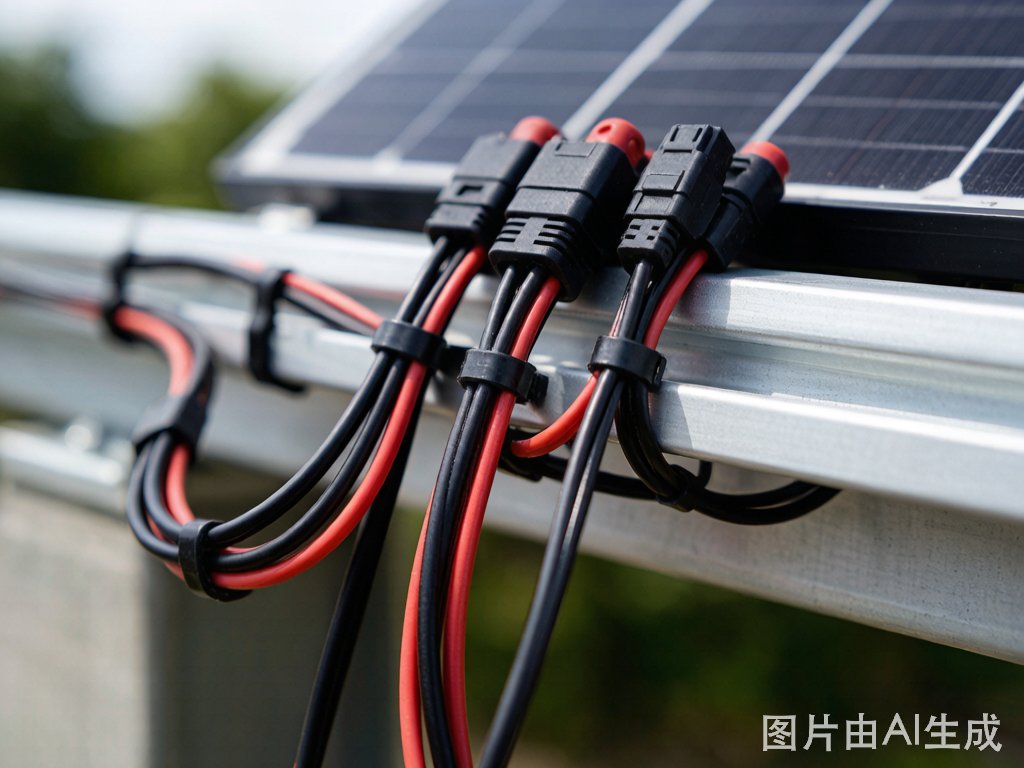
Harness wire assemblies are one of those things that nobody thinks about until they're standing in front of a combiner box with 40 identical black cables and no idea which one goes where. Or worse — when a cable routed four years ago finally rubs through its insulation on a sharp module frame edge and takes down a string.
After seeing installations across a dozen countries, here are the ten most common harness wire mistakes I've run into, and how to avoid them.
I don't know why this one keeps happening. You'd think by now, every installation team would have a label maker on the truck. But no — I still walk onto sites where someone has to trace cables by hand because nothing is labeled.
Fix: Label both ends of every home-run cable with the string number and polarity. Use UV-resistant heat-shrink labels or weatherproof cable markers. It takes 30 seconds per cable and saves hours of troubleshooting later. Treasun's custom harness assemblies can come pre-labeled to your specifications — one less thing to worry about on site.
A connector hanging from a cable with no support puts constant stress on the crimp joint. Add some wind vibration, and that crimp slowly works loose. I've seen connectors literally pull apart because the cable weight was hanging unsupported for years.
Fix: Use cable ties or clamps to support the cable within 15-20cm of every connector. The cable should be secured, not the connector body. The connector should float free of mechanical stress.
Module frames, mounting rails, and cable tray edges are all sharp enough to cut through cable insulation over time. It takes months or years, but it happens. I once found a cable that had been zip-tied directly to the sharp corner of an aluminum rail. The insulation looked fine from the outside, but underneath, the conductor was exposed and had been arcing to the frame.
Fix: Route cables away from sharp edges. Where crossing an edge is unavoidable, use edge protection strips, spiral wrap, or split conduit. A $0.50 piece of plastic conduit can prevent a ground fault that costs $500 to find and fix.
PV cables have a specified minimum bend radius — usually 4-6 times the cable's outer diameter. Bending tighter than this damages the internal conductor strands and creates stress points in the insulation. Over time, these become failure points.
Fix: Know your cable's bend radius spec and route accordingly. If a tight turn is unavoidable, use a cable guide or pulley block to maintain the proper radius.
DC power cables should not share a tray with communication cables (RS-485, Ethernet) without proper separation. Inductive coupling from the DC cables can induce noise on the comm lines, causing intermittent data errors that are maddening to troubleshoot.
Fix: Maintain at least 200mm separation between DC power and communication cables. If they must cross, do it at 90 degrees. Use shielded comm cable as an additional safeguard.
Cables expand and contract with temperature. A tight cable at 5°C in the morning can be sagging dangerously by 2 PM when the ambient hits 40°C. Or worse — a cable that's tight at installation in summer can contract enough in winter to pull connectors apart.
Fix: Leave a service loop of 20-30cm near each termination point. It provides slack for thermal movement and makes future maintenance easier — you can cut and re-terminate if needed without pulling new cable.
Over-tightened cable ties compress the cable insulation, which can deform the internal conductor geometry and create hot spots. On a thermal camera, I've seen cables running 5-10°C hotter right at the cable tie point.
Fix: Use cable ties with a controlled-tension tool, or just tighten by hand until snug — you should be able to rotate the cable inside the tie with moderate finger pressure. Better yet, use wide Velcro-style straps for bundled cables; they distribute pressure more evenly.
After crimping connectors onto harness wires, do a pull test. Grab the cable and the connector and pull — hard. If the connection fails on the ground, it's a 30-second fix. If it fails after the array is commissioned, it's a truck roll, a ladder, and a very annoyed O&M tech.
Fix: A proper crimp should survive at least a 50N pull test (about 5kg of force). Test a sample from every batch. If you're using factory-assembled harnesses from Treasun, every assembly is pull-tested before it leaves the factory. One less thing to worry about.
Six months after commissioning, nobody remembers exactly how the cables are routed through the array. When a fault happens, the troubleshooting team is working blind.
Fix: Take photos of every combiner box interior, cable tray routing, and major junction points before closing up. Store them with the project documentation. Add string-number labels to the photos. Future you (or the O&M contractor) will thank you.
Field assembly of harness wires on a 10MW+ installation can consume thousands of labor hours. Every connector crimped in the field is a quality variable. Multiply that by 10,000 connectors and the statistical probability of a few bad crimps is basically 100%.
Fix: For projects over 1MW, seriously consider factory-assembled harness wires. They're built in controlled conditions, every connection is pull-tested, and they arrive on site ready to install. The unit cost is higher, but the installed cost — including labor, rework, and failure risk — is often lower.
Treasun offers custom harness wire assemblies built to your exact specifications: cable type, length, connector type, labeling, and packaging. We ship worldwide and our lead times are competitive.
Before you flip the switch, walk the array and check:
Good harness wire installation isn't glamorous, but it's what keeps a solar plant running reliably for 25 years. Do it right the first time — you really don't want to be the person tracing cables through a 50MW array at 40°C in August.
Questions about harness wire for your project? Get in touch — we help design custom harness solutions for installations worldwide.